Thursday 27 January 2011

Spring Palette Challenge

You may have noticed the new button on my right side bar


I have put together a quick inspiration board which hopefully gives you a feel of the mini spring wardrobe I am aiming for.

Spring Palette Challenge
Inspiration Board Spring 2011

I am heading to Paris for a weekend in the Spring and have decided to stick with classic black (or navy) and white with accents of yellow and tangerine.

I love Paris in the Springtime..................


Wednesday 26 January 2011

To Burda or not to Burda


So my muslins are done (more on muslin 2 later today/tomorrow) and I am ready to cut into proper fabric. But before I do I thought I would retrace my steps and talk about patterns. Sunni is using Burda 127 pattern shown in the lovely button above.

If I am honest I was slightly hesitant to follow her lead.

Firstly, it is a 'tall' pattern, which isn't really a problem with the pattern admittedly but it does create some problems if one is not height gifted. Given that I measure 165cm I wouldn't normally go with a 'tall' pattern.

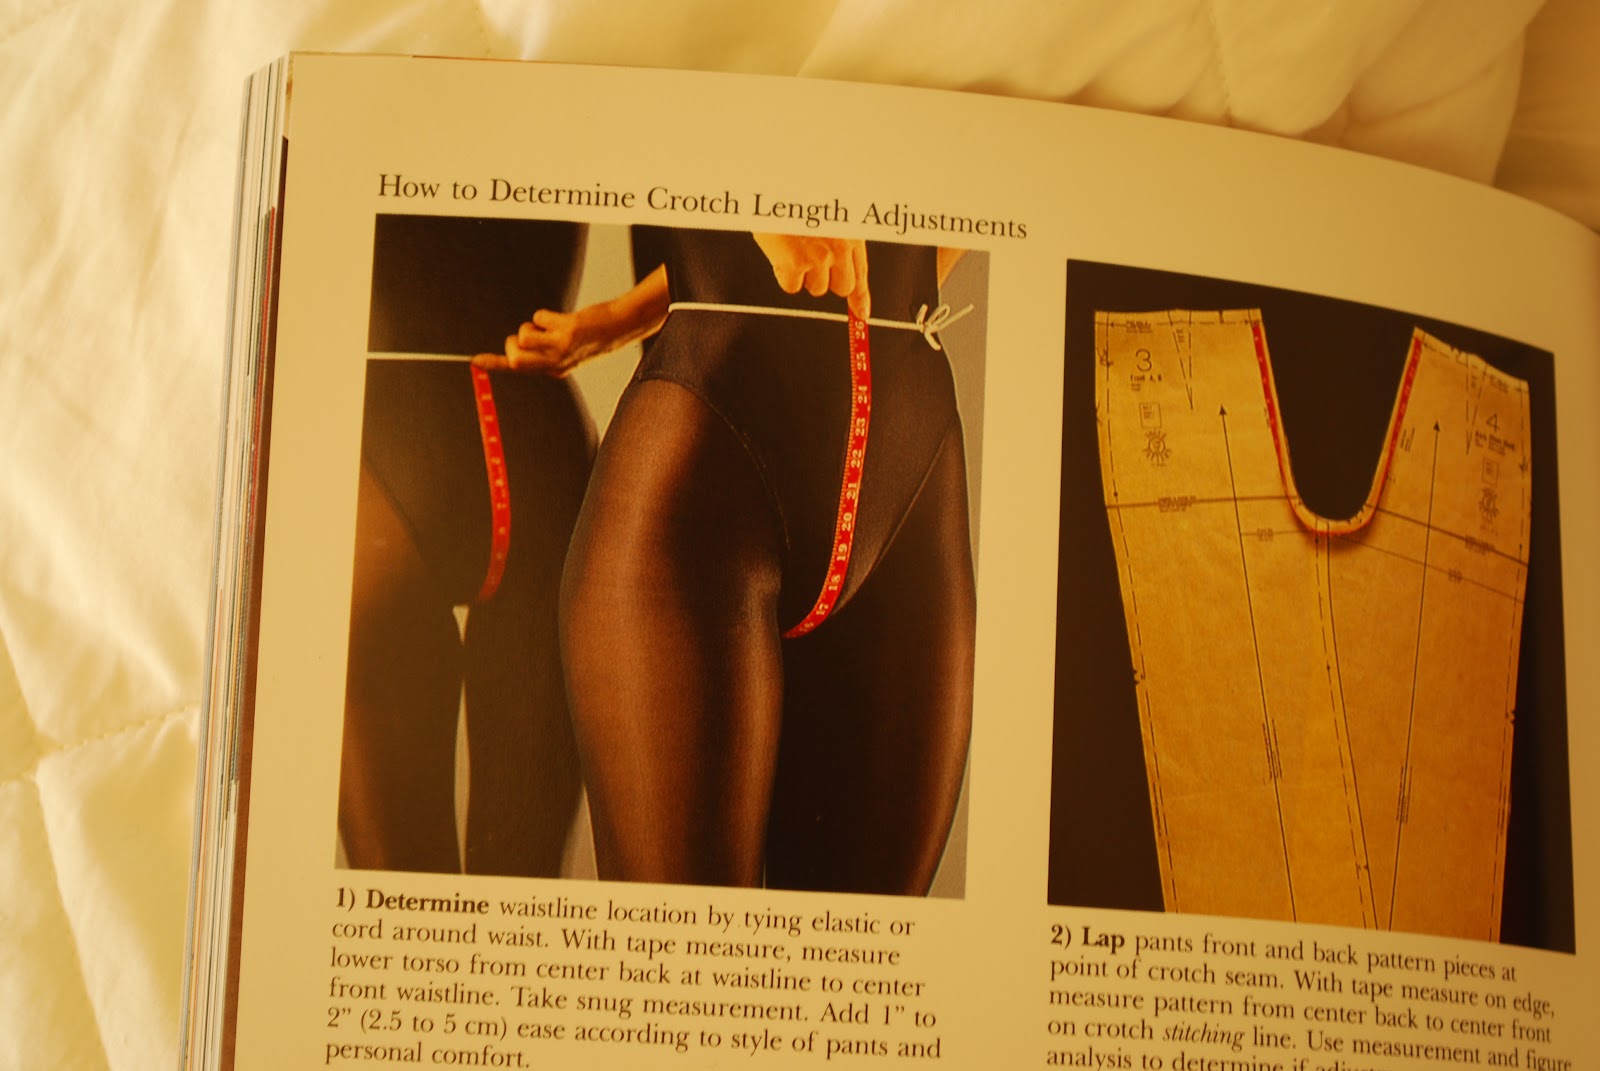
Secondly, Burda patterns have, as all patterns seem to, their own set of particularities, relating to the sizing chart to name just one. Also their inexplicable way of not adding seam allowances but then including the hem allowance and in this case, turn-up allowance never ceases to throw me.

Thirdly, I will admit that I am lazy and will nearly always choose a pattern that I can just cut out and trace round onto the fabric rather than one I have to print off, stick together, cut out, trace round and add my own seam allowances.

And, last but not least, the pattern is not like any pair of trouser that I normally wear. In fact I can honestly say that I have nothing similar in my wardrobe ('closet' for those of you over the Atlantic from here!) and it is not even the kind of trouser that I would normally even try on if out shopping.

But despite all that I decided to stick with it.

I felt, I will admit, that if Sunni has gone to all the effort of organising the sew along, writing and photo imaging detailed construction and fitting instructions then I should go with the pattern she has chosen (this is by no way criticising those who have chosen other patterns - no one style is for everyone and maybe if I had already got a different trouser pattern I too would have been tempted to go with that instead).

I also felt quite excited at the thought of trying to make this kind of trouser fit and suit me (given it is not my usual style choice). I have, for a while now, hankered after a smart pair of black trousers and the more I thought about it the more I thought that this pattern could maybe be made to work here.

Besides, Sunni promised me that if I made these trousers I would look tall and leggy. And who wouldn't want to look tall and leggy?

So Burda 127 it is.

But having decided to stay with Burda 127 that didn't stop me perusing other trouser patterns. The main pattern companies didn't inspire me much but then I happened upon Hot Patterns - and I think I have found my trouser pattern heaven!

Take a look at these


Classic Nouveau Dressy Jean


Colette Patterns is organising a Spring Palette Challenge - see more details here and I can see one or two of these patterns making their way into my little capsule spring collection (now doesn't that sound exciting!).

xxx

Tuesday 25 January 2011

An evening with Burda 127


Who says you can't have fun on a cold January evening in rural France?

I finally got round to finishing off the muslin of Burda 127, trying it on and photographing it. All this was done after nightfall hence the 'glow' of the photos!

After reading some of the comments about this pattern I decided to cut size 72. My measurements were actually between this size and the next one up but as so many people had found their muslins drowning them I went for the smaller size...and as you can see there was still somewhat of a drowned effect!


muslin 1 the front view
My main problem with the front view is the feeling of excess fabric in the front  leg sections (there is obviously the length problem too but given that this is a tall pattern I was assuming that goes without saying). The crotch is also a bit low and the width could do with taking in maybe but I have to say that overall I was not quite as daunted as I had expected to be (having read that some people are on their 5th muslin I had expected much worse).


Muslin 1 the back view
 The back view I was actually quite happy with. The photos show a lot of creasing but most of that is, I confess, due to lack of ironing rather than problems with the fit.

Muslin 1 the side view.
 Again, I was happily surprised to find the side view not too bad - it confirmed my feeling of excess on the front leg sections but otherwise I'm pretty happy.

So, given that Sunni has written some great fitting posts and I have a book that promises a 'perfect fit' if you follow their fitting advice what do you think I did next?

Yep - I went right off piste and decided to see whether if I redrafted the front leg section altogether, omitting the pleat, this would solve the excess fabric issue!

You see I wasn't keen on the pleaty baginess around the front of my crotch - are you with me??

But rather than redoing the whole muslin because although I do live in rural France and it is January I still have some kind of life (really) and probably also because I realised I really was going out on a bit of a whim I decided to just try out my theory on one leg.

I know, genius!

I then decided that I should probably adhere to some proper fitting advice and shorten the crotch depth and length as well.

So here is muslin 1B (with my left leg with newly drafted without pleat section).

Muslin 1B front view
 And do you know what? once the crotch and length are pinned up I actually prefer the side with the pleat. Now I am really glad I only altered one front leg!

Muslin 1B back view
 I admit that it was starting to get late now so I couldn't be bothered to properly pin the back and side sections but I did start a second proper muslin taking into account the alterations which I will hopefully photograph tonight.
Muslin 1B side view
 And, as Sunni promised me tallness and leggyness if I went with this pattern I thought I would try the muslin with these shoes...
tall and leggy?
I mean, trousers can only do so much....

Saturday 22 January 2011

A random post - and a dress

Things have been rather frantic around here, hence the lack of blogging - I can't seem to find enough hours in the day to do half the things I want to do - never mind the rest.....I'm hoping things will calm down once I have all my decorating done and I can get back to focussing my 'me' time on proper things like sewing clothes!!

The decorating is going well, but it is slow. Not helped by having little helpers...


one of my little helpers

My little helpers are slightly bigger than the one pictured above but are, when everything is taken into account, probably slightly less helpful than him!

The other reason for the lack of sewing progress at the moment is that I am between sewing places. For the last 6 months or so I have been sewing in our bedroom as the room I previously used was full of furniture and toys awaiting the new extension. We now have the extension on the ground floor, where my new room is to be, but it is, as yet, unfurnished. I have been making curtains on a table in the middle of the room but the rest of my sewing stuff is in various piles around the house awaiting the delivery of my new cupboarding. This should arrive this week and then everything can be found a home and hopefully proper sewing can recommence.


sewing box being guarded by my new spirit level - a birthday present!
Whilst there has not been much practical progress on the sewing front I have been doing some trouser fitting research. In addition to following Sunni's really good posts on fitting I have also been perusing the books I have to see if I can glean any useful information. The crux of the matter seems to be the crotch and derrière - it would appear that if you can get that area to fit comfortably and properly then other alterations flow relatively easily. The essential measurements it would therefore appear are the crotch depth - show in image one below - and the crotch length - shown in image two. (Both images are from 'The Perfect Fit - a practical guide to adjusting patterns for a professional finish' published by Apple).                


The Crotch Depth

The crotch length
Right, I am now off to slip into a black tights and leotard combo...but before I do I thought I would leave you with a couple of  images of a dress I made just before Christmas - there will be more pictures to come that are somewhat better but if I wait until I have everything edited and perfect it will be March before I post again - so in the interest of not falling off the planet completely - here you go...

Do you remember I posted this picture?


This was the front cover of French Elle dated 19 November 2010 and it featured a Louis Vuitton dress in old pink wool/cotton jersey. For some reason I kept being drawn back to the image of this dress - the colour, the simplicity.... And then, on one of my pre- christmas fabric buying trips I spotted the perfect double knit.

The pattern was part self drafted and part adapted from the basic dress pattern in Sew - U stretch - I took the basic bodice from that pattern and added a panel down the front and a panel round the waist, self drafted the sleeves for the ungathered, three quarter look and added a bias cut swirly skirt. I also added a side invisible zipper. The belt I am wearing is a fabric belt I bought from Jigsaw earlier this year (unfortunately I didn't have a vintage leather Hérmes belt as worn by the Elle model!)


The front bodice and sleeves


the skirt swirls

Have a lovely weekend!

Friday 14 January 2011

Late arrival at the Cupcake Goddess' party

OK, so if you've stopped by here before you may have noticed the lovely little button on the right hand side stating that I am a proud member of the Cupcake Goddess' trouser sew along.

Now the thing is that this sew along started a couple of weeks ago and Sunni has written some fantastic posts detailing the construction of the muslin. She has even started posting about the alterations to the muslin to get a perfect fit (and that is not even mentionned the posts about the pattern, the shopping lists etc etc)

And where am I?? Hmmm, you've got it - precisely nowhere. My muslin is not even cut out, let along being altered to fit little old me.

But this is about to change. I mean, better late than never - no? Yesterday I bought two lovely fabrics which over the coming weeks will (hopefully) be transformed into two perfectly fitted pairs of trousers.
The pattern is now cut out, the size is chosen and this weekend the muslin will be constructed and fitting will commence.

Much much more on this and birthday resolutions to come!

Have a great weekend!

Tuesday 11 January 2011

Boy room

For the next couple of weeks I am on 'project house'. Our long awaited extension is nearly completed which means that the little people all get new bedrooms. Having shared altogether for the last 5 months petit garçon is not too enamoured to be getting his own space. Sharing with his big sisters was, for him, a promotion and therefore moving back, into an albeit new and completely redesigned bedroom, all on his own is somewhat disappointing.

To try and win him round I am currently working on the 'boy' of boys bedroom. When asked what he wanted in his bedroom the overall message was that it should be BLUE (and he didn't mean white with a hint of!). I have therefore spent the last couple of days painting one wall 'jean bleu' - which is most definitely BLUE. Not wanting the room to be too dark I have opted for white on the other three walls (although one of those walls has built in cupboards and one other has the window so they are only small surfaces to paint - thankfully!). The remaining white wall will house a red bookshelf and I am thinking of painting a grey blackboard on the lower section of the other half of the wall.

The decorating will hopefully be done by the weekend leaving next week to put together the furniture, make the curtains and some cushions and hang the posters and photos I have prepared.

This is my rough working design...


Boy room
Boy room

I'll keep you posted on progress!

Monday 10 January 2011

Christmas Dresses - more details

Remember these?


Christmas dresses

Way back, I posted about these dresses when I started working on Christmas projects. The dresses were destined for 3 nieces and 2 daughters as Christmas presents. The red ones for the littler ones and the purple ones for the more grown up among the gang.


red pinafores
 The red dresses were made from this pattern (see below) which, annoyingly, stubbornly refuses to rotate so you will have to bend your head I'm afraid to get a good look. Otherwise, it is a great pattern - very simple and quick to make up and lends itself to both plain and very patterned fabric. The pattern also contains appliqué patterns to imitate the illustrations on the pattern of hearts, round or stars, if you should so desire.


I kept both red dresses simple as I had spotted some red and white spotty tops and stripy tights to go with them and here, modelling the smaller version perfectly is my gorgeous niece:


You will see that I added large navy buttons as closures and, if you look closely at the second image, you might be able to spot that I used ladybird fabric tape as hem tape. As my little niece is only 6 months and I was using corduroy fabric I used a contrasting cotton fabric for the facings rather than the corduroy. This stopped the top of the dress being too bulky and (if you look back at the first image) makes it look rather funky on the hanger, even if i do say so myself!

Now for the purple dresses.

purple pinafores
They were all made from this pattern

purple dress pattern

which gives 6 variations of a basic pinafore. The larger two dresses were basically the same variation - the same as the model on the envelope wearing the orange dress - made up of a bodice with facings which attaches to a skirt section and the closure is a centre back zipper. The smaller dress, for Mlle Evie was based on the variation show by the model on the envelope wearing the green dress only I didn't add the section on the bottom of the skirt as, either my daughters are very short or the pattern was drafted for very tall children!

The largest dress, a size 8 years I made up exactly as per the instructions but instead of using a lapped zipper at the back I inserted an invisible zipper. I used Liberty bias to finish the sleeves and the inside of the hem.

The second dress, a size 7 years I made up in the same variation but I added Liberty covered piping where the bodice of the dress attaches to the skirt. I also bound the sleeves with matching Liberty bias and again used the bias to bind the hem. I did, for this dress, use a lapped zipper as I wasn't sure that an invisible zipper would 'like' the piping!

The third dress is made up of a lined bodice with straps which again attaches to the skirt sections and closes with a centre back zipper. I again used an invisible zipper here (partly because in clearing out my cupboard I found a bag full of invisible zippers!). Mlle E then decided that the dress should have a bow on the front, as it does on the pattern envelope, so I foraged amongst my scraps and found the perfect Christmas bow


Even she had to admit that that is a bow!!

Friday 7 January 2011

Happy New Year 2011!

Happy New Year everyone! I'm back!!

As you will have noticed I took an extended break over Christmas and New Year.  I had planned several posts about some of the things I made in the run up to the festivities but in the end mince pie eating, mulled-wine drinking and spending time with family won out (I did manage to complete my advent calendar though which I am pleased about (simple things, I know!) and it has got me planning an addition to the blog along the photo line).

We are now back home, the washing pile is finally controllable, little people are back at school and I am starting to plan my 2011 projects.

The next few weeks are mainly going to be taken up with interior decoration projects (which sounds so much more exciting than decorating little people's bedrooms doesn't it??) as our extension is finally nearly complete..... which also means I get my new sewing room (or 'atelier' as I have taken to calling it!!) but I also have lots of garment sewing plans to share, not least the cupcake goddess' trouser sew along which I am already horribly behind on. And, of course, I have all the things that I made before Christmas to show you.

For now though I am going to leave you with some of my favourite images of 2010.


Meilleurs Voeux 2011